
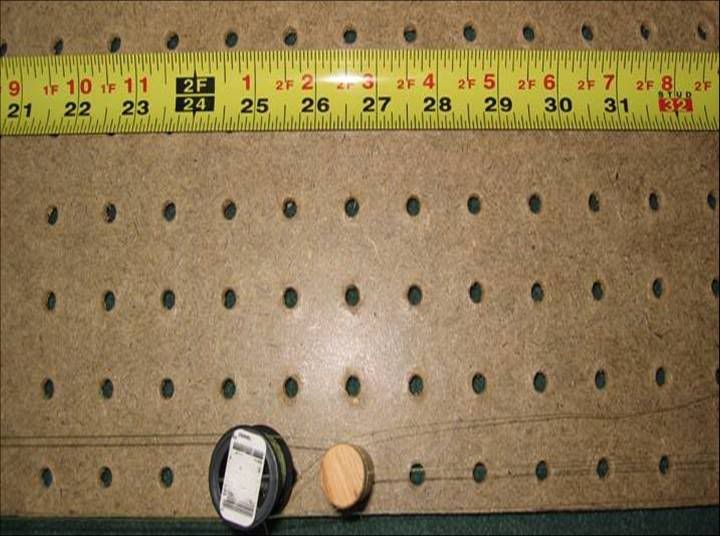
Joseph, thanks for the explanation! I think I've followed what you said. The one thing that's not clear, though, is how you transition from nails 1-2 to 2-3. Seems like after you do the 8 loops around nails 1 and 2, you are now sitting at nail 1. How do you get to nail 3? Do you just extend from nail 1 to 3, then do the 5 loops around nails 2 and 3 and so on? And obviously the spacing between the nails is important since you mentioned a formula, which I imagine, along with the number of loops, accounts for the tapering of the diameter so it turns over properly. How on earth did you figure this out? Finally, do you just attach the mono/fluoro tippet to the end of these things? And do you think this thing would work for a bass leader that calls for, say, a 0x - 2x tippet that will be attached to, say, a size 2 deerhair bug? Sorry for all the questions, but I (and maybe others??) am really interested. Thanks again!
-- Mike
Chuck Norris has already been to Mars; that's why there are no signs of life.


 Reply With Quote
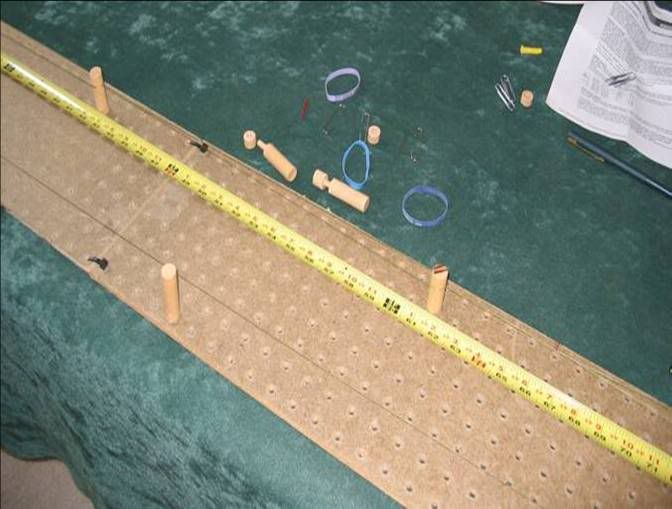
 )
)


Bookmarks